While the IHS and CPU Die may look smooth to the human eye, the surface is very uneven on a microscopic level. Thermal compounds are used to fill the gaps between the CPU and IHS surfaces. Low-quality compounds have low conductivity. The adhesive used to stick the IHS and CPU together can also expand and lift the IHS slightly, which worsens the heat transfer further. When you replace the stock TIM layer with a proper amount of high-quality thermal paste or even better liquid metal, the conductivity improves significantly. This allows for much more efficient cooling of the CPU. A thinner layer of glue accomplishes the same thing. Depending on the processor you’re using, how well or poorly the stock TIM was applied on it, the quality of the compound you choose to use, and how well you apply it, your results will vary. The results typically range between a 5 – 15° C improvement, with some people getting a 25° C+ reduction in the best cases. Some people directly connect the CPU to the cooler, which reattaching the IHS, a process known as Direct Die Cooling. While leaving the chip naked like this does further reduce the CPU temperature, the risk of damaging it is also higher, so we don’t recommend it. As for why people void the warranty and risk killing their CPUs for some reduction in temperature, it’s mostly an enthusiast thing. Overclocked systems regularly reach temperatures above 80 – 90° C. Overheating, in general, isn’t great for performance or the components’ lifespan. Thus, the reduced temperature facilitates overclocking.
How to Delid the CPU?
If you’ve decided to delid the CPU after all, we recommend gathering a few things before getting started:
Delidding tool Thermal compound Silicone adhesive 99% pure isopropyl alcohol Microfiber cloth Nail Polish (optional)
Also, a quick reminder to check your CPU temperatures beforehand. People forget this more often than you’d think and end up having to estimate the temperature improvement later.
Detach CPU from the Motherboard
This is optional, but you can increase the CPU usage and heat it to 80° C+ to soften up the sealant and make it easier to delid the CPU. With that said, here are the steps for this portion:
Separate IHS from the CPU
The next step is to separate the IHS from the CPU. People have successfully used razor blades to do this, but once again, we do not recommend this. It’s not worth risking your CPU just to save a bit of cash. There are some very affordable options, such as der8auer’s Delid-Die-Mate 2. Here are the steps to delid the CPU using a tool like that:
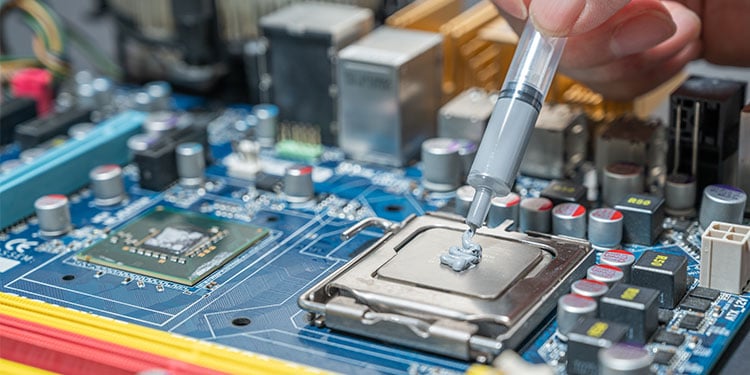
Clean Old Thermal Paste and Reapply
Well, there you have it. You’ve successfully delidded the CPU. Now, you should clean off the old thermal compound and apply a new one. While you can just use thermal paste, we recommend using a liquid metal thermal compound for best results. Here are the step-by-step instructions for this portion:
Reattach the Components
There are two approaches to reattaching the CPU and IHS. Some people insert the CPU back into the socket, then attach the IHS there, sometimes without glue, and use the CPU socket latch to hold it in place. The steps for the second, more common approach, are listed below:
Check the Results
Here we are, the moment of truth. You can use a hardware monitoring tool or a benchmarking tool of your choice to check the CPU temperatures. Let us know in the comments how much of a difference delidding made for your processor.