The BIOS is the motherboard’s software that loads the OS into the primary memory. The CMOS, on the other hand, holds the BIOS setting when the system turns off. To save these settings, the CMOS uses a CMOS battery. Usually, when the CMOS battery gets old or loses power, you get the error message CMOS checksum during the POST test.
What Causes CMOS Checksum Error?
All Checksum Error Message
Depending on what’s wrong with the BIOS or the CMOS, you may get the following checksum error message. Besides this, here are a few other reasons why the conflict occurs.
Corrupt CMOS data Old CMOS battery Physical damage to the motherboard Interruption during BIOS update Corrupted BIOS update
BIOS ROM checksum errorCMOS Checksum BadCMOS Check Error – Default LoadedSystem CMOS Checksum Bad -Default Configuration Used
Default loaded usually means that the CMOS battery is not working. Meaning that the CMOS failed to save the BIOS settings, so the default setting has been applied. If that’s the case for you, replacing the CMOS battery with a new one will solve the issue.
How to Fix CMOS Checksum Error?
Depending on the cause of the issue, here is a list of things you can try that might fix the CMOS checksum error.
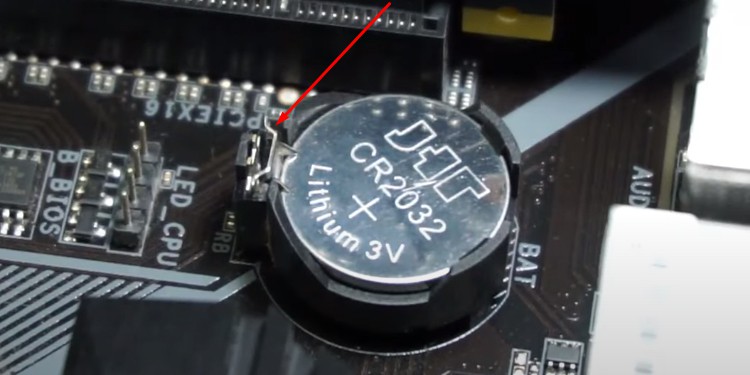
Reseat/Replace the CMOS Battery
When the motherboard does not detect the CMOS battery, there is a high chance you get the CMOS checksum error. When this happens, The system will set all your BIOS configurations to default. First, check the CMOS battery orientation. Make sure that the CMOS battery is fully inside the CMOS battery socket. If that does not work, reseat the CMOS battery. Here’s a detailed step-by-step guideline on how to remove and reinsert CMOS battery If reseating the CMOS does not fix the issue, it can be that the battery is dead. In this case, replace the CMOS battery with a new one.
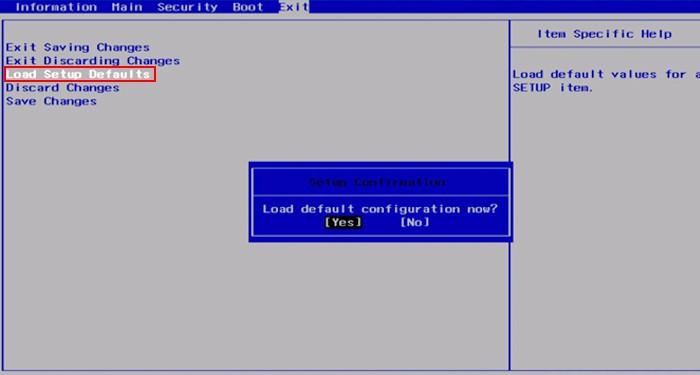
Reset BIOS
Resetting the BIOS will revert all your BIOS settings to their default state. This will remove any overclocking done to the PC, the date and time will reset, and the boot order will also be set to default. If you are certain that the problem is not with the CMOS, you can try resetting the BIOS. As a BIOS reset reverts all its configurations and settings to default, it may resolve any conflict between the CMOS and the BIOS. To perform a BIOS reset,
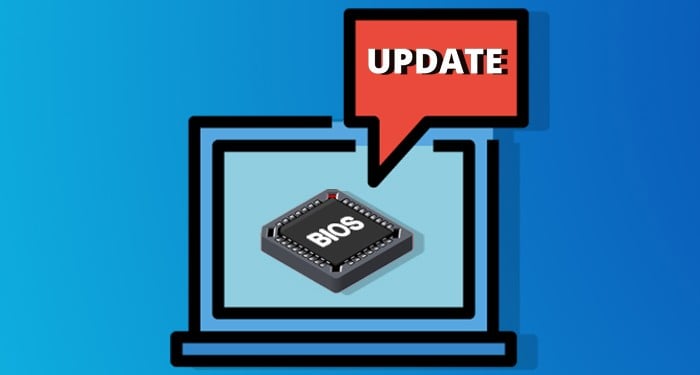
Update BIOS
Some security issues or the BIOS not supporting some hardware components may also cause some conflict between the CMOS and the BIOS. Updating the BIOS will make your motherboard compatible with newer hardware. The update may also bring some improvements to security that might solve the CMOS checksum error.
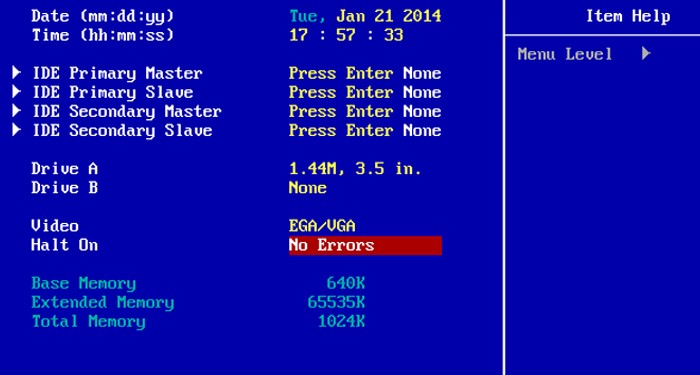
Enable Halt On No Errors
Using the BIOS, you can choose what errors halt the Power On Self Test. You can ignore the error and continue with the BOOT process. Note that performing this does not solve the CMOS checksum error, but the system ignores this error and loads the OS. You can find four parameters for Halt On in your BIOS. • No Errors • All Errors •All But Keyboard •All But Diskette/Floppy If you want to ignore any POST error message, select Halt On as No Errors. However, setting Halt On to this setting is not recommended.