If you want to avoid taking too much time writing the same email for many people, you can set up a mail merge. This article explains how you can set it up in Microsoft Outlook. In general, you use MS Outlook, MS Word, and other programs that store structured data.
Setting up Mail Merge
The most convenient method of setting up a mail merge is through Word. You can get the mailing addresses from Outlook or enter them into a list for this process. You can find the step-by-step procedure for this method in this guide.
Compose your Email
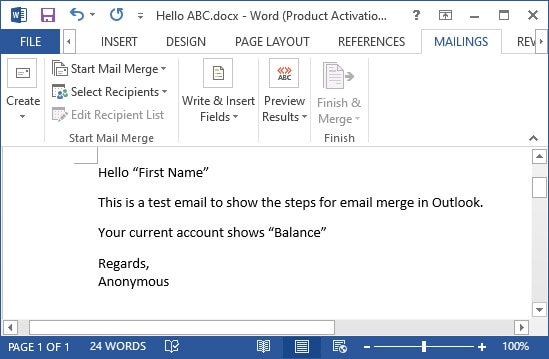
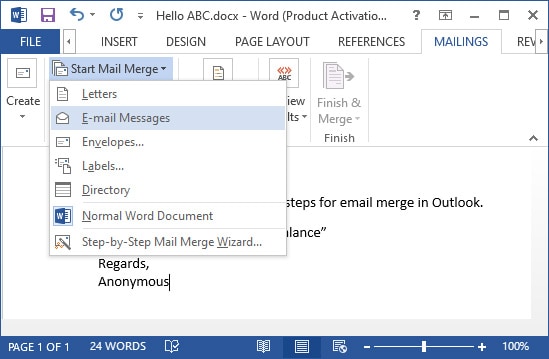
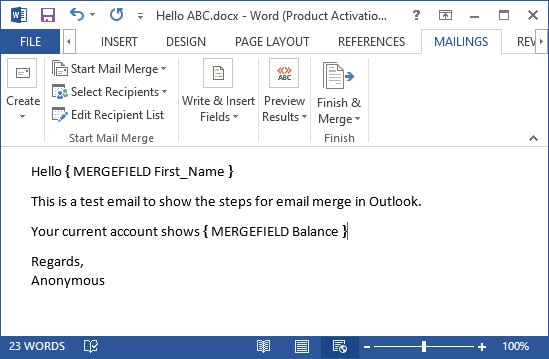
The first task is to compose the mail you want. You can directly type the message in a word document. The initial step is also to start the mail merge. Follow the steps below:
Create a Mailing List
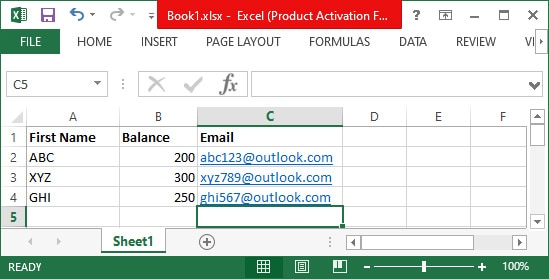
Skip this step if you have a contact list you can use in Outlook. Word allows you to create a new list or use an existing list. This list can be an excel spreadsheet, a database, or any document with structured entries. Here, we will list out steps to create an excel spreadsheet for the list.
Select Recipients for your Email
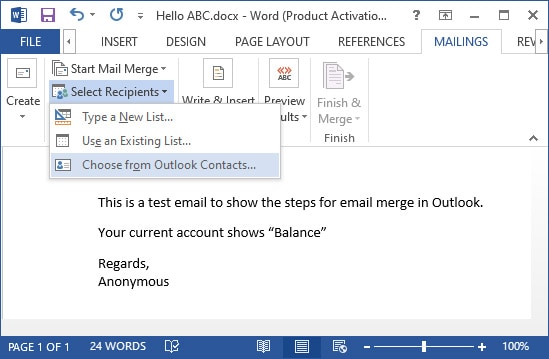
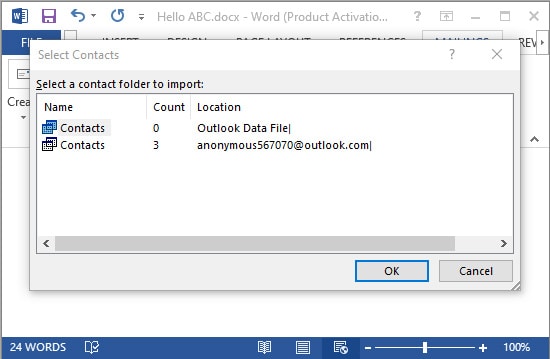
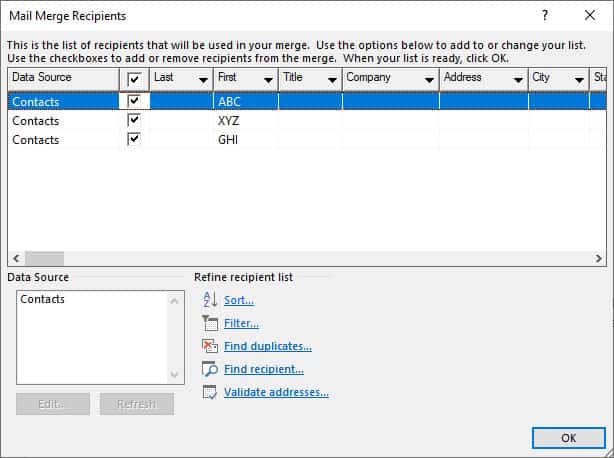
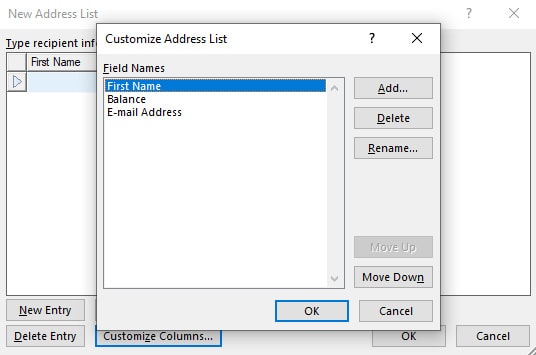
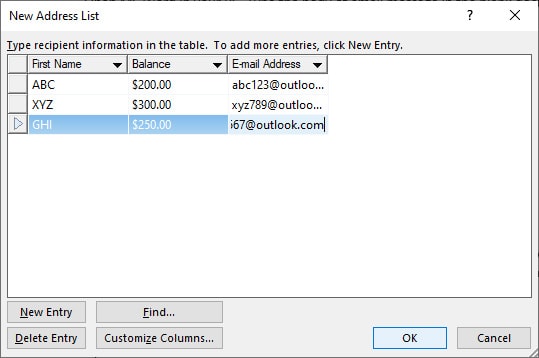
It is the step where you link the mail merge with its receivers. There are three options to choose from. You can create a new list, use an existing one, or pick from outlook contacts. If you have an Outlook contact list of the recipients, follow the instructions below: In case you want to create a new list, follow these directions: If you have created a list using a different source, follow the steps below to select from the list: You can check and edit your list by selecting Edit Recipient List from the Start Mail Merge group.
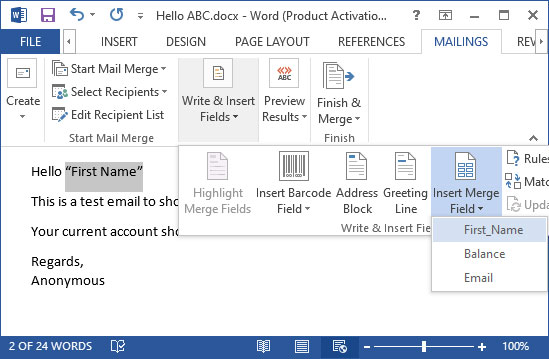
Insert Mail Merge Fields
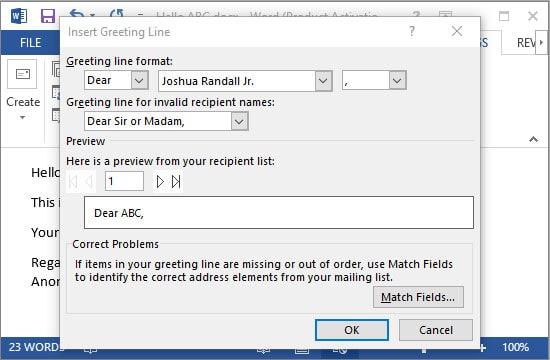
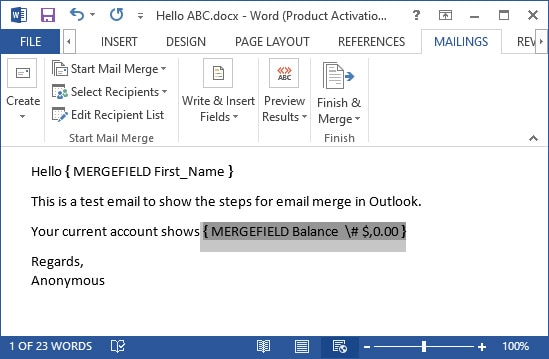
In this step, you can fill the placeholders you have used in the message. You can also add personalized greeting. To do so, follow the instructions below:
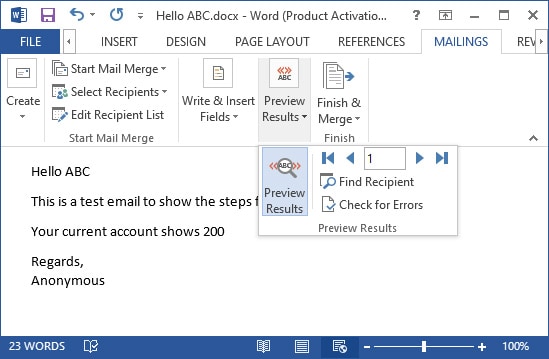
Preview your Email
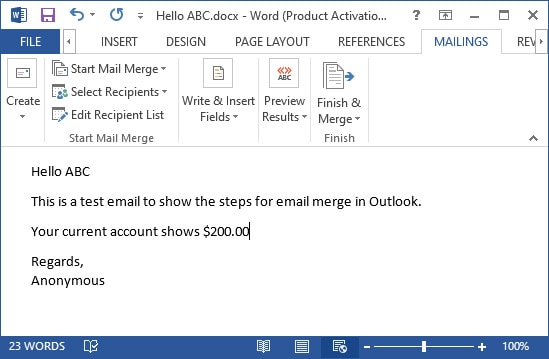
Before sending an email, it is essential to preview it to check for inaccuracies. Here’s how you can preview your mail merge:
Finish and Save
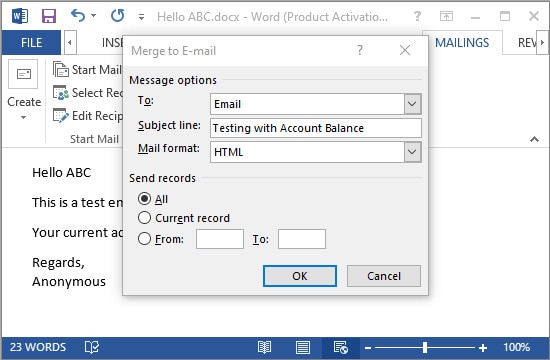
The final step is to finish up, enter the subject line and send the email. You can also mail merge to another document or print the message document if you need. To finish up, follow these instructions: Also take a look at our article on how to send a secure email in outlook.
